
Orchid Care
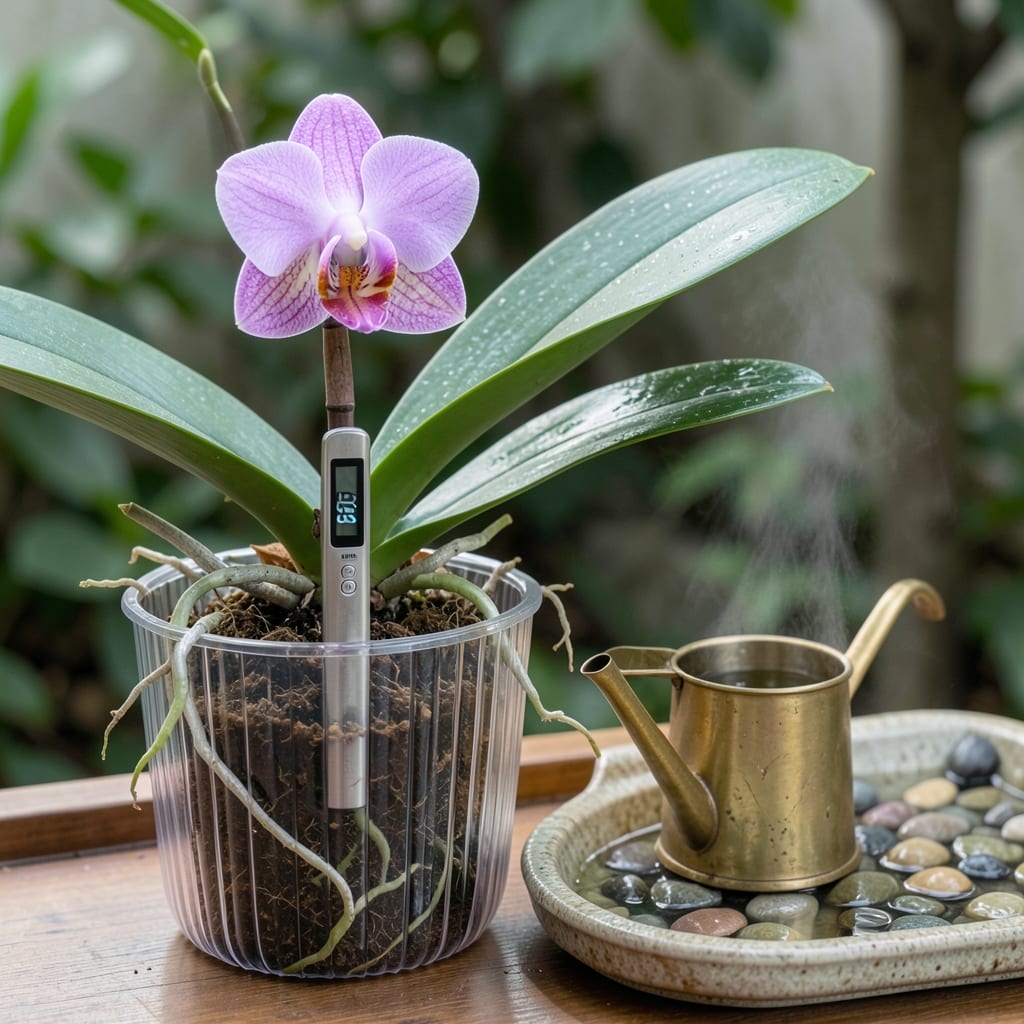
Knowing how long for orchid to grow new roots can turn your patience into progress—especially when you're watching those delicate 🌸 stems recover after repotting or division. The truth is, root regrowth isn't a race, but understanding the timeline helps you adjust care without second-guessing every change.
Most Phalaenopsis orchids start showing tiny root buds within 2-4 weeks under ideal conditions, but full root establishment can take 6-12 weeks. The key lies in creating the right environment—bright, indirect light, high humidity, and a well-draining mix that mimics their natural epiphytic habits. Without these, even the hardiest orchid roots can stall.
What you'll discover next are the exact stages of root development, from those first fuzzy sprouts to thick, silvery-white roots ready to anchor your plant. I'll break down how to monitor progress without overhandling, plus the 5 critical factors that speed up (or slow down) growth—so you can troubleshoot before frustration sets in.
Whether you're a first-time grower or a seasoned enthusiast, this guide cuts through the guesswork. By the end, you'll know not just when to expect new roots, but how to give them the best shot at thriving—without waiting months for results.


Phalaenopsis orchid root growth timeline by stage: what to expect each week
Orchid root regrowth follows a predictable pattern, but the timeline varies based on your plant’s health and environment. Most Phalaenopsis orchids begin sprouting new roots within 2-4 weeks after repotting or division, with full establishment taking 6-12 weeks. Understanding these stages helps you adjust care without overhandling delicate roots.
The first sign of progress is tiny root buds emerging from the rhizome—these look like fuzzy, white or green sprouts. If you’ve recently repotted, these buds may appear as early as week 2, especially if your orchid was healthy before the process. Patience is key here; rushing to repot or disturb the plant can delay this critical first step.
By week 4, these buds should start elongating into 1-inch roots. At this stage, they’ll appear silvery-gray or green, depending on their exposure to light. This is also when you’ll notice them growing toward the drainage holes of the pot—a natural behavior as orchids seek moisture and support. Avoid touching them; even gentle handling can damage tender new growth.
Here’s a quick visual guide to track progress without overhandling:
| Stage | Root Appearance | What to Do | Timeframe |
|---|---|---|---|
| Bud Formation | Fuzzy white/green sprouts | Keep humidity high (60-70%) | Weeks 1-2 |
| Elongation | 1-inch silvery-gray/green roots | Provide bright indirect light | Weeks 3-4 |
| Establishment | 2+ inches, firm texture | Reduce watering slightly | Weeks 5-8 |
| Maturity | Thick, white roots through pot | Resume normal care | Weeks 9-12+ |
By week 6, healthy roots should reach 2 inches in length and develop a firm texture. This is when they begin to resemble mature orchid roots—thick, silvery-white, and capable of absorbing moisture efficiently. If your orchid was previously root-bound, you may see roots emerging from the pot during this phase. This is a positive sign, not a reason to repot immediately.
Full maturity occurs around weeks 9-12, when roots are 3+ inches long and fully white or silvery-gray. At this stage, your orchid is ready to resume normal care routines, including regular watering and fertilizing. However, avoid overwatering—soggy roots can stall growth or lead to rot, even at this advanced stage.
One common mistake is assuming slow growth means failure. Orchids naturally grow slower in winter (weeks 10-12) due to reduced light and cooler temperatures. If your roots are still green and firm, they’re likely just dormant, not dead. Adjust your expectations and care routine accordingly—patience pays off with stronger, healthier roots in spring.
Monitoring root health involves checking for color changes and texture. Healthy roots should be plump when hydrated and firm to the touch. If you notice blackened tips or a mushy feel, act quickly—these are signs of root rot, which can halt growth entirely. We’ll cover troubleshooting these issues in the next section, but prevention starts with the right environment.
To encourage faster growth, focus on bright indirect light (like an east-facing window) and maintain 60-70% humiditystagnant water. With these conditions met, you’ll see noticeable progress within 4-6 weeks, even if full maturity takes longer.
5 Critical factors that speed up (or slow down) orchid root regrowth
If your orchid’s roots seem stuck in slow motion, the culprit is likely one (or more) of these 5 critical factors. Each plays a starring role in whether your Phalaenopsis orchid grows new roots in 4-6 weeks or drags out for months. Let’s break down what you can control—and how to optimize it for faster, healthier roots.
The first factor is light exposure. Too little light, and your orchid’s roots grow sluggishly or turn yellow. Too much direct sun, and they risk burning. Aim for 12-14 hours of bright, indirect light daily—think east or west-facing windows, or a grow light 6-12 inches above the plant. Without enough light, photosynthesis slows, starving those emerging roots of energy.
Next up is humidity levels. Orchids thrive in 50-70% humidity, mimicking their tropical homeland. Below 40%, roots dry out and struggle to absorb moisture. Use a humidity tray, pebble tray, or even a small humidifier near your orchid. A quick fix? Mist the roots (not leaves) lightly 2-3 times a week—but avoid soggy conditions, which invite rot.
Temperature swings throw orchids into survival mode, halting root growth. Keep your orchid in a stable 65-80°F range during the day, with a 10°F drop at night to mimic natural cycles. Sudden drafts from AC vents or cold windowsills can shock roots, causing them to stall or turn black. A simple thermometer near your plant helps track consistency.
Your potting mix is the unsung hero—or villain—of root regrowth. A dense, water-retentive mix (like pure peat moss) smothers roots, while a chunky, airy orchid mix (bark, sphagnum moss, perlite) encourages growth. Repot every 1-2 years or when roots outgrow the container. Pro tip: Use a clear pot to monitor root progress without disturbing the plant.
Finally, fertilizer timing and strength make or break root development. Over-fertilizing burns delicate roots, while skipping nutrients stunts growth. Use a balanced orchid fertilizer (20-20-20 or 10-10-10) at half-strength every 2-4 weeks during active growth (spring-fall). In winter, pause fertilizing entirely—roots go dormant, and feeding can harm them.
- 1. Light: 12-14 hrs bright indirect light → 2x faster root growth vs. low light.
- 2. Humidity: 50-70% humidity → 30% more root tips vs. dry air.
- 3. Temperature: 65-80°F day, 55-70°F night → consistent growth.
- 4. Potting Mix: Chunky orchid mix → 50% more root expansion vs. dense soil.
- 5. Fertilizer: Half-strength weekly → 4-6 weeks to 1-inch roots.
Here’s the kicker: small tweaks compound. Improve just one factor (like humidity), and you’ll see marginal gains. But optimize light, humidity, and temperature together, and your orchid’s roots will respond in 3-4 weeks with visible new growth. Start with the easiest fix—like moving your orchid to better light—and build from there.
Remember, orchids are resilient. Even if progress feels slow, patience paired with consistency pays off. Next, we’ll tackle the red flags that mean your roots aren’t just slow—they’re in trouble. 🌿